Item Information:

Size:

0 x 0

Quantity:

Artwork:

Please select
Next Step Add to Basket

Calculate Order

 Design It
Free Delivery

Plain Wrap
More Info »

Free Delivery

Turnaround
More Info »

1 review for One Way Vision Film


4.9
Star Star Star Star Star

Based on 113
Google Reviews

Add a Review

Similar Products


More Information »

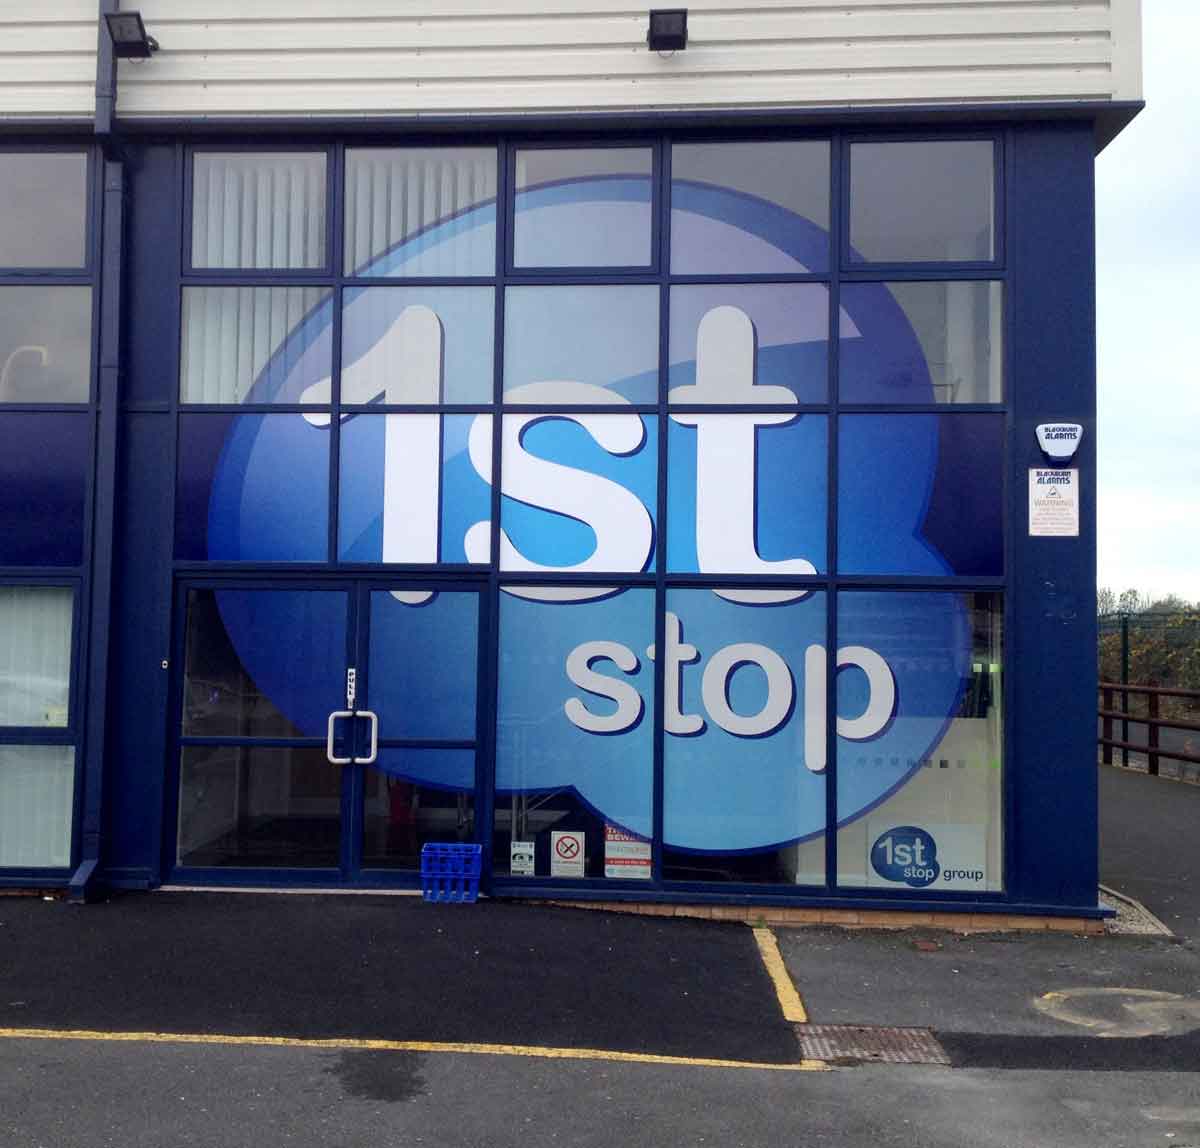
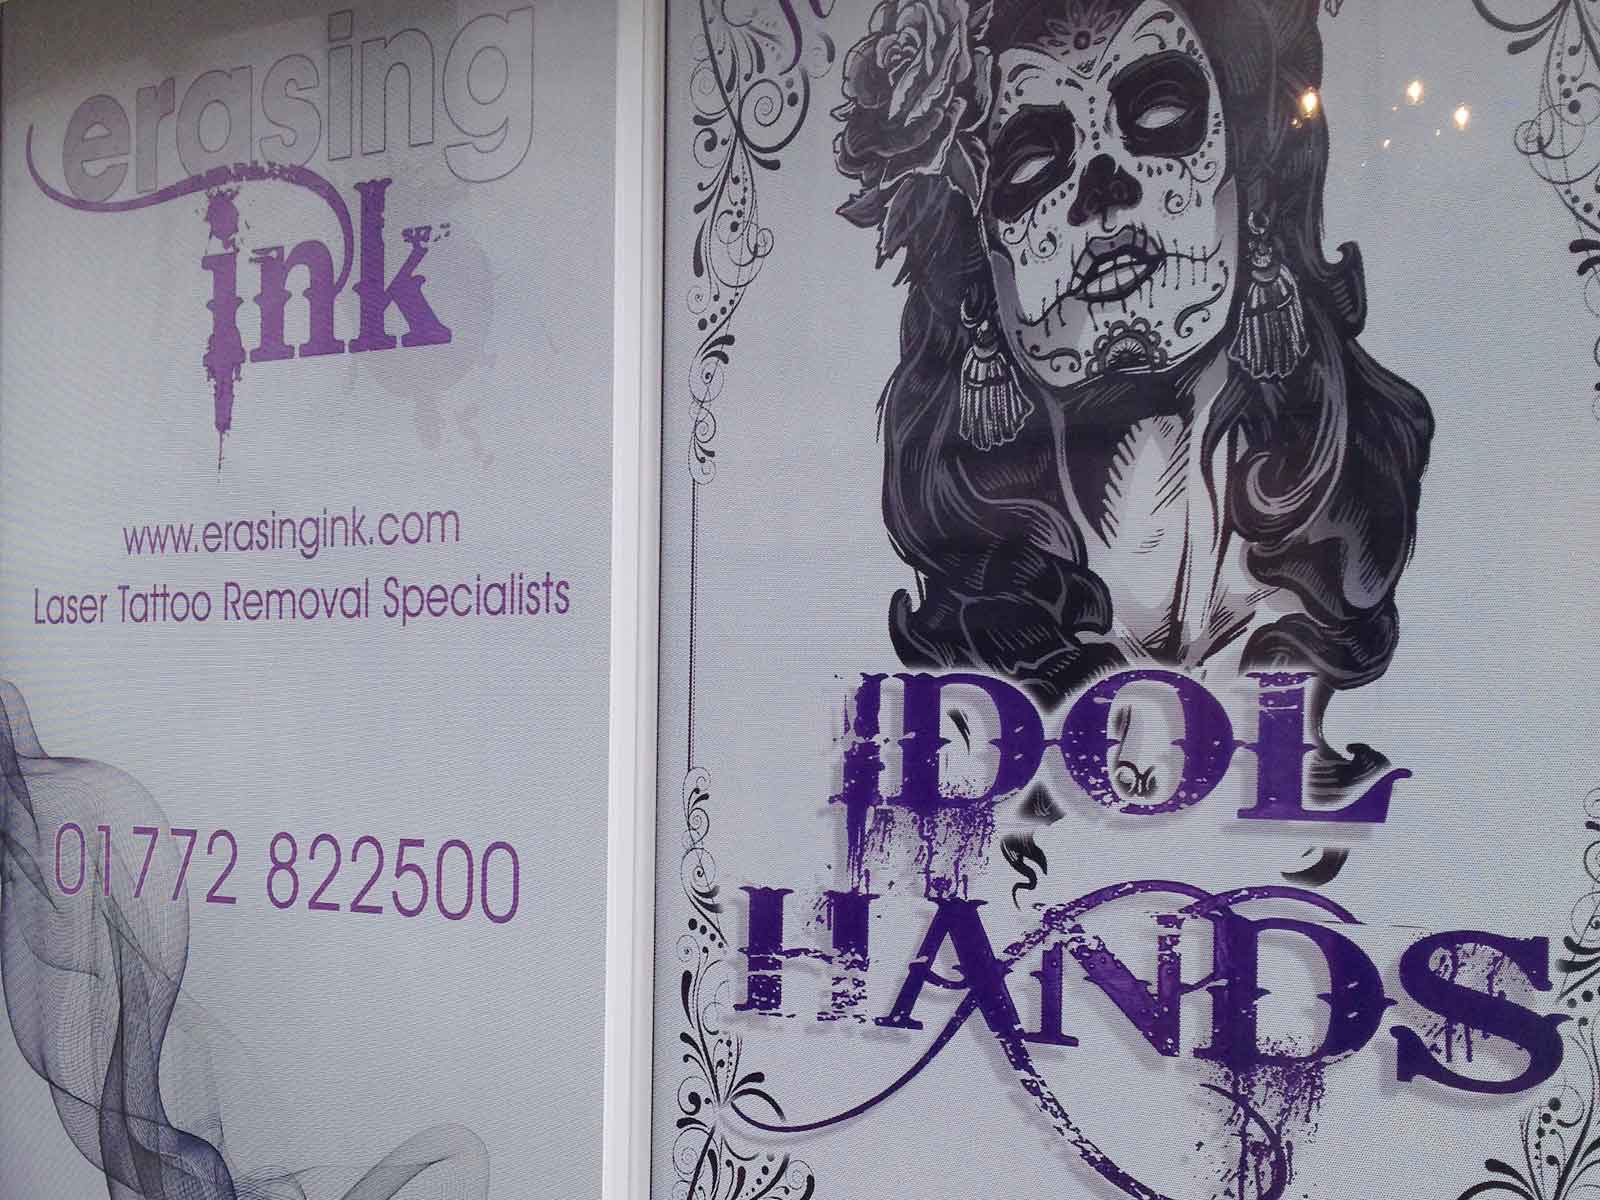
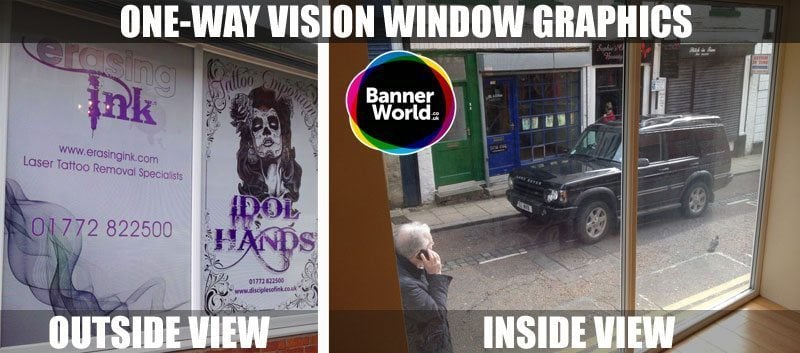
One way vision film is printed using a UV, Latex or eco solvent print process. This revolutionary honeycomb window graphic allows you to have a full colour print applied to the exterior of the window whilst still letting you see out from the inside.

Ideal for use on offices, buildings, cars and buses. Transform any window space into a large advertising area, without losing the ability to see outside.

Banner World Guide to One Way Vision Film Window Graphics Installation

1. CLEAN THE GLASS! It is vital that the glass is absolutely clean before fitting a graphic. The glass must be cleaned and de-greased. Use detergent or any solvent based cleaner that does not contain silicone or oil additives. Use a plain, non coloured, paper towel or lint free cloth for the final polish.

2. Turn the graphic over and place on a flat surface. From the top edge, peel back about 25-30mm of the backing paper or film and crease it, then return the backing film to the original position. This preparation will aid positioning and fitting. Avoid touching the adhesive with your fingers.

3. Offer the graphic up to the fitting position and hinge the top edge with 2”masking tape – half on the glass and half on the graphic. Check the alignment and when you are satisfied that all is correct, lift the graphic and peel away about 25-30mm of the release paper or film from the back. Let the graphic fall into position without the adhesive taking a strong hold and recheck positioning. The folded backing will help keep the adhesive off the glass. Tack the top edge, ensuring that it goes down flat and true. Next, peel away about 6”/100mm of backing film. Start at the top centre and wipe downwards and outwards using a flat felt squeegee blade. Peel away another 6”/100mm of backing film and continue with overlapping strokes downwards and outwards until finished. Be aware that perforated film is very flimsy and easy to crease, so treat it gently. It is almost impossible to get trapped air bubbles with perforated film! Gently remove the masking tape. Pull it across the film at an acute angle, not at 90 degrees.

4. The above describes a dry application suitable for perforated films, For solid films a wet application is recommended. This involves spraying a film of fine water droplets or application fluid, such as Rapid Tac, from a plant sprayer on the glass after the graphic is positioned but before applying the adhesive. The droplets hold the adhesive off the glass until pressure is applied. This method ensures good adhesion and minimises air bubbles being trapped under the film. Any bubbles can be pricked using a scalpel or needle and then wiped down. For pvc static cling films, use the above method for application. Before removing the backing paper, wet thoroughly with water to soften the paper, so that it may be removed without lifting the film off as well. Pull it across the film at an acute angle, not at 90 degrees.

5. Ambient temperature range, for fitting, is recommended to be 15C-25C. Most adhesives work better and form a stronger bond when warm. If working in cold conditions below 10C, the gentle use of a hot air gun (or hairdryer) on the film, as it is applied, is recommended. If the film or glass is particularly cold, the adhesive will be slow to tack and the film will be more brittle and require more careful handing. Avoid application in direct summer sunlight as the film can become very soft and difficult to handle and the adhesive very tacky with a tendency to “grab” on contact. All adhesives will “cure” over a period of 6-24 hours until full adhesion has been obtained. Avoid washing or otherwise disturbing the graphic for a 24-48 hour period if possible.

6. Remember, the adhesive for any film graphic will only stick properly if the surface is clean and the film is applied correctly.

7. Removal of window graphics will be greatly eased by the use of a hot air gun or hairdryer to soften the adhesive as you peel it away from the glass.

For more information or advice on fitting window graphics call John or Craig on 01253 897 840 or use the contact form to tell us your requirements. We can suggest the most appropriate solution for your display needs.

Technical Specifications »

Material

145 micron perforated film - 40% clear

Adhesive

Removable Clear Solvent Based Adhesive

Artwork Guidelines »

Accepted File Formats

We only accept files in PDF, AI, EPS, JPEG, PSD or TIF Formats

Bleed & Safe Area

Please see full artwork guidelines

Black Composition

Please see full artwork guidelines

Artwork DPI

Please see full artwork guidelines


Full artwork guidelines available here:

Artwork Guidelines Download Guidelines (pdf)

Frequently Asked Questions »

There are no currently no FAQ's for this item.

Our Guarantee »

Buying banners in confidence

You can buy from Banner World with confidence. Your job will go through several checks before manufacture. Firstly when your job comes in, we check all your uploaded files and cross-reference each file against your order. At this point, if we see that artwork is incorrect or if there is a file missing we will contact you to request new artwork. Most of our banners and fabrics are manufactured at our large print factory in Europe. Our standard turnaround on items is 5-6 working days for delivery. Even though most of our ordering system has been automated, we still carry out several manual checks before processing your order. If at any point we have a question or a problem with your order you will be contacted before manufacturing.

Our processes

Please read the information below on how your order is processed. Each order goes through several checks before printing. Our file checking service is standard procedure on all orders. Checking your files means that you can place your order in confidence, knowing that we will check to make sure your order and corresponding artwork match and are correct. Anything we are not sure that we will contact you before proceeding.

What is Our Initial checking service?

When you place an online order, we will cross-reference your artwork against your order. At this point, we will check that the artwork sizes and file type match the order. We will make sure we have the correct number of artwork files for the job. At this stage, if anything appears to be incorrect, we will place the order on hold and contact you immediately.

How do we process your order?

Once we are happy with your order, we will then process it. We collate all the information for each job, including finishing and material type. The job information is then sent with your artwork to the pre-press department. Pre-press is where we will create and prepare your job for printing.

Our Pre Press and second checking service.

Pre-press refers to the stage before printing. Here your artwork is converted into the correct format for our machines and finishing processes. At this point, if something is spotted which isn’t correct or if there is a problem we will again contact you.

How do we print and track your order through the factory?

Your job is now batched together with other items on the same material. Each item has assigned to it a unique code. The code is used to track the order through our factory. The information is used to check the material, quantity and finishing information on the item. The order then goes through our print presses.

How do we finish your printed items?

Every job we produce is different to the next, whether it be size, material, shape or finishing. Your printed items will be finished as requested on your order. We automate as much of the finishing as possible, cutting down on labour costs and passing on the savings to you. The Prepress data is inputted into parts of our finishing equipment. Your graphics are now finished to your custom requirements. Each printed product is set up differently for each type of finishing process. A banner that has hem and eyelets will be manufactured and produced in a different way to a flag with a pole pocket.

How are your items packed?

We have now manufactured your items. The finishing pieces now move onto the packing department. At the packing stage, we collate your order. Items get checked off against the order using the order code system. The printed goods get wrapped and packed, ready for despatch.

How do you ship my goods?

Now your item has been packed it is ready to be shipped. From placing your order, your goods have taken approx 24-48 hours to get to this stage. We have a logistics team which arrange the shipping through UPS. Our standard delivery (£15 or free over £250) will now take an additional three days to be delivered to an address on UK mainland and most of mainland Europe. Our standard shipping will travel via road and sea to reach the UK. We do offer a faster 1-day shipping method which is our 4-day turnaround service. The fast turnaround service is expensive on low-value bulky orders and is more cost-effective on higher volume jobs. Items to the US and other worldwide destinations will take longer to be delivered. For items going to Ireland, the Isle of Wight, Isle of Man, Scottish highlands etc. please add an extra day onto delivery times