If you’ve not come across the term before, you may wonder what a step and repeat banner is, but these banners are actually used regularly in a range of different events across a variety of industries.
In this blog, we look at step and repeat banners in detail, providing information on what they are, how to get your own banner made and how to hang one up.
What is a step and repeat banner?
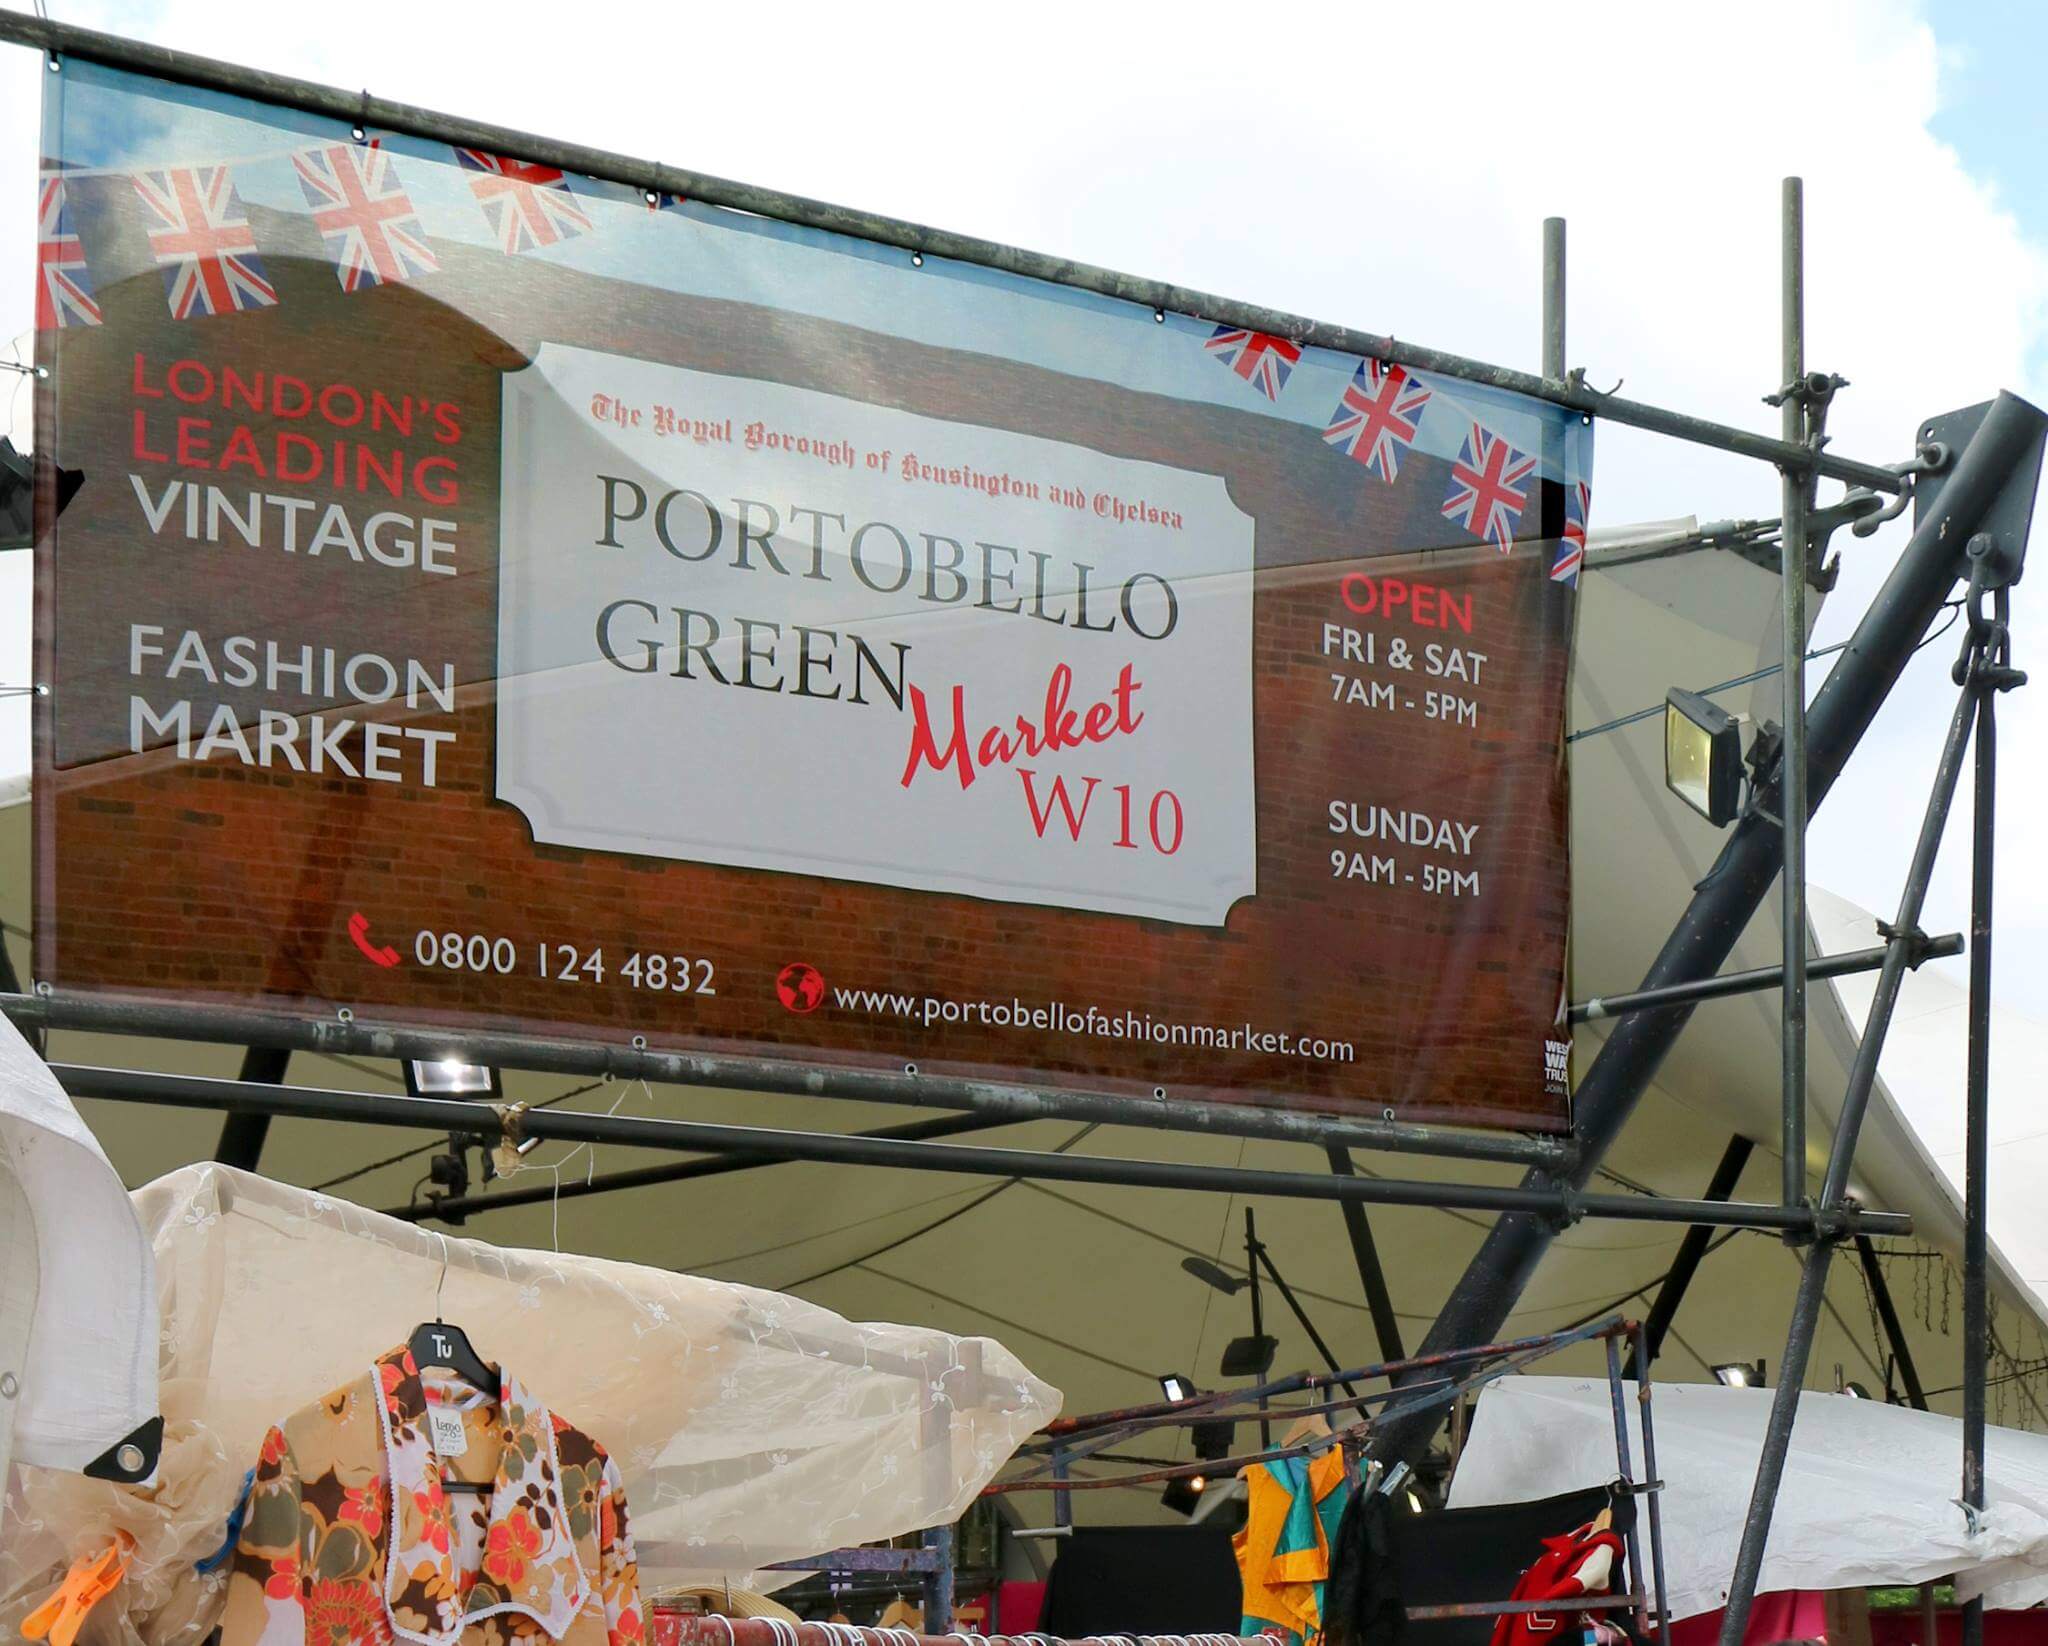
A step and repeat banner is a type of backdrop used for corporate, marketing and entertainment events, as well as at awards evenings and press conferences. You’ll probably recognise them in the background during post-match interviews after football games or during photo opportunities at red carpet events.
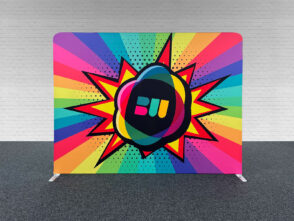
There are two origins behind the name of this type of banner. The first comes from the process of having people step in front of it, have their picture taken and move along to allow for the next person behind them to take their place, repeating the process. The second relates to how graphic designers would typically create the design for this type of banner. More often than not, a step and repeat banner will have one or more logos on it, and the design will be repeated to present a consistent pattern across the entire banner.

How to make a step and repeat banner
As step and repeat banners are usually made to work as the backdrop to pictures being taken, they need to be large enough to include the people who are being photographed while cutting out anything in the background. Obviously, it would be extremely difficult to print this type of banner out on a normal household or office printer, so it would be advisable to get it made professionally.
This not only makes it easier to get a suitably sized banner made, but it also takes away a lot of the hassle, leaving the design as the only task you need to perform yourself. To do this, create the design or image you want on your banner and upload it to the step and repeat product you want from the Banner World website. During this stage, you will be able to check that you’re using an image with the correct dimensions, format and quality. You’ll also need to specify what material you want and the quantity of banners.
How to design a step and repeat banner
- Think about the background. Most step and repeat backgrounds are plain white so that the sponsor logos are highlighted and not ‘lost’ to the eye. A coloured background may be used, especially if you want to colour-coordinate with the theme of the event or venue.
- Obtain high-quality copies of the logos you wish to use. Normally these will be scaleable ‘vector’ files which mean they can be enlarged to any size without pixellating or blurring.
- Using a graphic design program such as Adobe Illustrator it is easy to lay out your sponsor logos in a step and repeat pattern. Consider the colours and styles of the individual logos if you are using more than one. Some logos will look better next to others!
How big should the logos be on a step and repeat banner?
Logos used on a step and repeat backdrop or banner need to be clear to guests and look good later on video and on photos. Too small and they won’t be legible. The size recommended by the industry professionals at Banner World is between 8 and 15 inches wide each (200mm to 400mm).
How to hang a step and repeat banner
Unlike many traditional options, step and repeat banners require a stand that holds them in place. A standard backdrop stand will effectively be two vertical poles to hold the banner up and two horizontal poles at the top and bottom to hold it all together. Instructions on building this type of step and repeat stand are as follows:
- Start by fixing the feet onto the vertical poles, using a screw on the underside to fasten them.
- Adjust the retractable poles to the desired length, tightening them in place by firmly twisting.
- Lay out all four poles and the banner flat on the floor to measure, ensuring that the horizontal poles are slightly longer than the width of the banner.
- Feed the top pole through the top pocket of the banner, fixing it at both ends by screwing the knobs through the adjacent holes at the top of the vertical poles. Once in place, do the same for the other vertical pole at the bottom of the stand.
- Check that every part of your stand is sufficiently tightened, using cable ties through the grommets and around the stand for extra support.
- Turn the feet so they’re facing outwards and lift the stand up.
- As a final step, once again check that every part of the stand is tightened and feels stable.


Leave a Reply
You must be logged in to post a comment.