How to use our online designer You can design most items online with our easy to use online designer. Choose from a range of fonts, logos, vectors and background colours….
How to use our online designer
You can design most items online with our easy to use online designer. Choose from a range of fonts, logos, vectors and background colours. Upload images and logos to make your banner even more special.
Easy to use online designer
Our online designer is really easy to use. Unlike Vistaprint and similar online print-on-design sites, our online designer is unique. Rather than a set template, we decided to give our clients full control, meaning you design your artwork from scratch. So let’s begin with designing an artwork for a banner.
Select your product
Firstly you need to select a product. Once you have selected your desired product, enter your banner’s size and required finishing, i.e., hem and eyelets, pole pockets, etc. Now that you have selected the size and finishing select the ‘Design Online’ option shown on the artwork section. The Online Designer window will load a new artboard and safe area to match your size and finish. Please wait for the designer to load, which can take up to 30 seconds.
Basic Controls (LHS desktop / Top on Mobile)
Below is a description of the basic controls:
Background colour: Select the desired colour.
Text: Add text.
Clip art: Choose from a wide range of clip art.
Backgrounds: Choose from a wide range of backgrounds.
Upload: Upload images and vector logos.
Save: Save, Load, share and Print.
Other controls (Bottom Left)
Undo: Undo a change
Redo: Redo a change
Tools ( Bottom Left)
Align: Align Objects
Above: Move selected object above (Move forward)
Below: Move selected object below (Move behind)
Flip: Flip an item vertically or Horizontally
Copy: Create a copy of an object
Paste: Paste a copied object
Zoom (Bottom Right desktop only)
+ Zoom: Zoom in closer
– Zoom: Zoom out further
Begin your design
You are now ready to create your design. You can now create a simple design and proceed to the checkout within a few minutes. Below are explanations of how all the controls work.
Select Background Colour
Select the paint drop icon and choose from a range of background colours.
Text Tool
Use the text tool. Enter your text required into the box. If you require your text on two or more lines, simply press return after each line required. Click the add button to add the text to your design. You can edit the text once it is added by selecting the text. To select the text, click the text item on the artboard. If you want to add another text set, you will first need to unselect your last text box by clicking on the background. Once the text is unselected, you can click the text box and follow the instructions above to add more text.
Select typeface
Select your typeface using the font options box. Next, choose from Bold or Italic using the checkboxes underneath. Please note: Italic and Bold are only available on limited fonts. Use the coloured boxes to select the font colour and an outline colour if required. Letter spacing and line spacing can be adjusted using the sliding bars. Use text effects to add text on a curve, slant, and other effects.
Bounding box / Selection tool
Each item you add to the design is controlled using the bounding box shown around the item on the canvas. When you have an item selected, the bounding box will show. You can adjust the size of a selected item by dragging out the bounding box using the bottom corner arrows. The bottom and side arrow will stretch the item, while the bottom corner arrow will resize the item to scale. Use the bounding box to resize, rotate, stretch and lock the item by selecting the relevant icon on the bounding box. You can use the bounding box to move the type to another position by simply clicking and dragging. Also, to help with alignment, lines will show when clicking and dragging, making it easy to centralise objects.
Clip Art
If you wish to add clip art, then use the rosette icon. We have 1000’s of clip art available. Clip-art isn’t allowed past the artwork safe area. Some clip art is colourable, meaning you can change certain clip art to suit your design. If an item is colourable, you will see a colour selection box appear once you have placed an item on the canvas. You can ‘Replace Artwork’ or ‘Add Another’ by clicking the relevant boxes. If you wish to remove a clip art, simply click the bin icon on the bounding box.
Background images
We have a selection of background images. Background images can go past the safe area. Please note that we only print the artboard area, meaning the faded background shown beyond the safe area will not be printed. If you require to fill the entire background with an image, sometimes it’s best to zoom out using the + & – symbols at the bottom right of the designer. Then you can drag out the graphic to fill the entire canvas.
Upload
You can upload pictures, images and logos. You can upload the following formats. JPG, PNG, SVG, EPS and PDF. Once uploaded, you can resize and move the artwork using the bounding box controls.
You will need to accept a disclaimer before proceeding. The disclaimer will appear every time you upload an image or file. Please ensure that you upload images that are of acceptable quality to you. We cannot be held responsible for poor quality images being uploaded to the designer.
Save Share and Load
Use the save, share and load button to print, save and reload a saved design. One thing to remember. Because each artboard is bespoke, you must use the same product, size and finish to open a saved design. A difference in artboard size, product or finish will mean your saved design isn’t suitable, so it isn’t loadable. We always advise creating your design and then adding it to the basket. You can always come back later and checkout once an item is saved in your basket.
Tools
The tools controls are situated at the bottom left of the page. Here you can align, move objects above and below other objects. You can also copy and paste items and also flip items horizontally and vertically.
Proceed to checkout
Once you are happy with your design, click the ‘proceed to checkout’ button. Once clicked, you will have the chance to add notes regarding your order. Please carefully check that you are happy with your artwork before clicking proceed to the checkout; you cannot edit the artwork once you have proceeded. You can now checkout and complete your order.
John has over 25 years of experience in the signs and graphics sector. John began his career in signage in 1998 after leaving college where he gained a National Diploma in graphic design. John has a wealth of all-round expertise and knowledge and has worked in many roles within the signage industry. As well as being an experienced graphic designer, John is an experienced sign manufacturer and vehicle wrap installer.
Exhibition Stands for Engaging Displays
Exhibition stands are crucial in showcasing your brand and products at various trade shows and conventions. T...
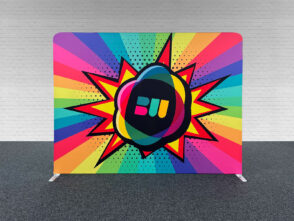
Fabric Banners
Fabric banners are a versatile and eco-friendly option for advertising, events, and celebrations. These banners are made from polyeste...
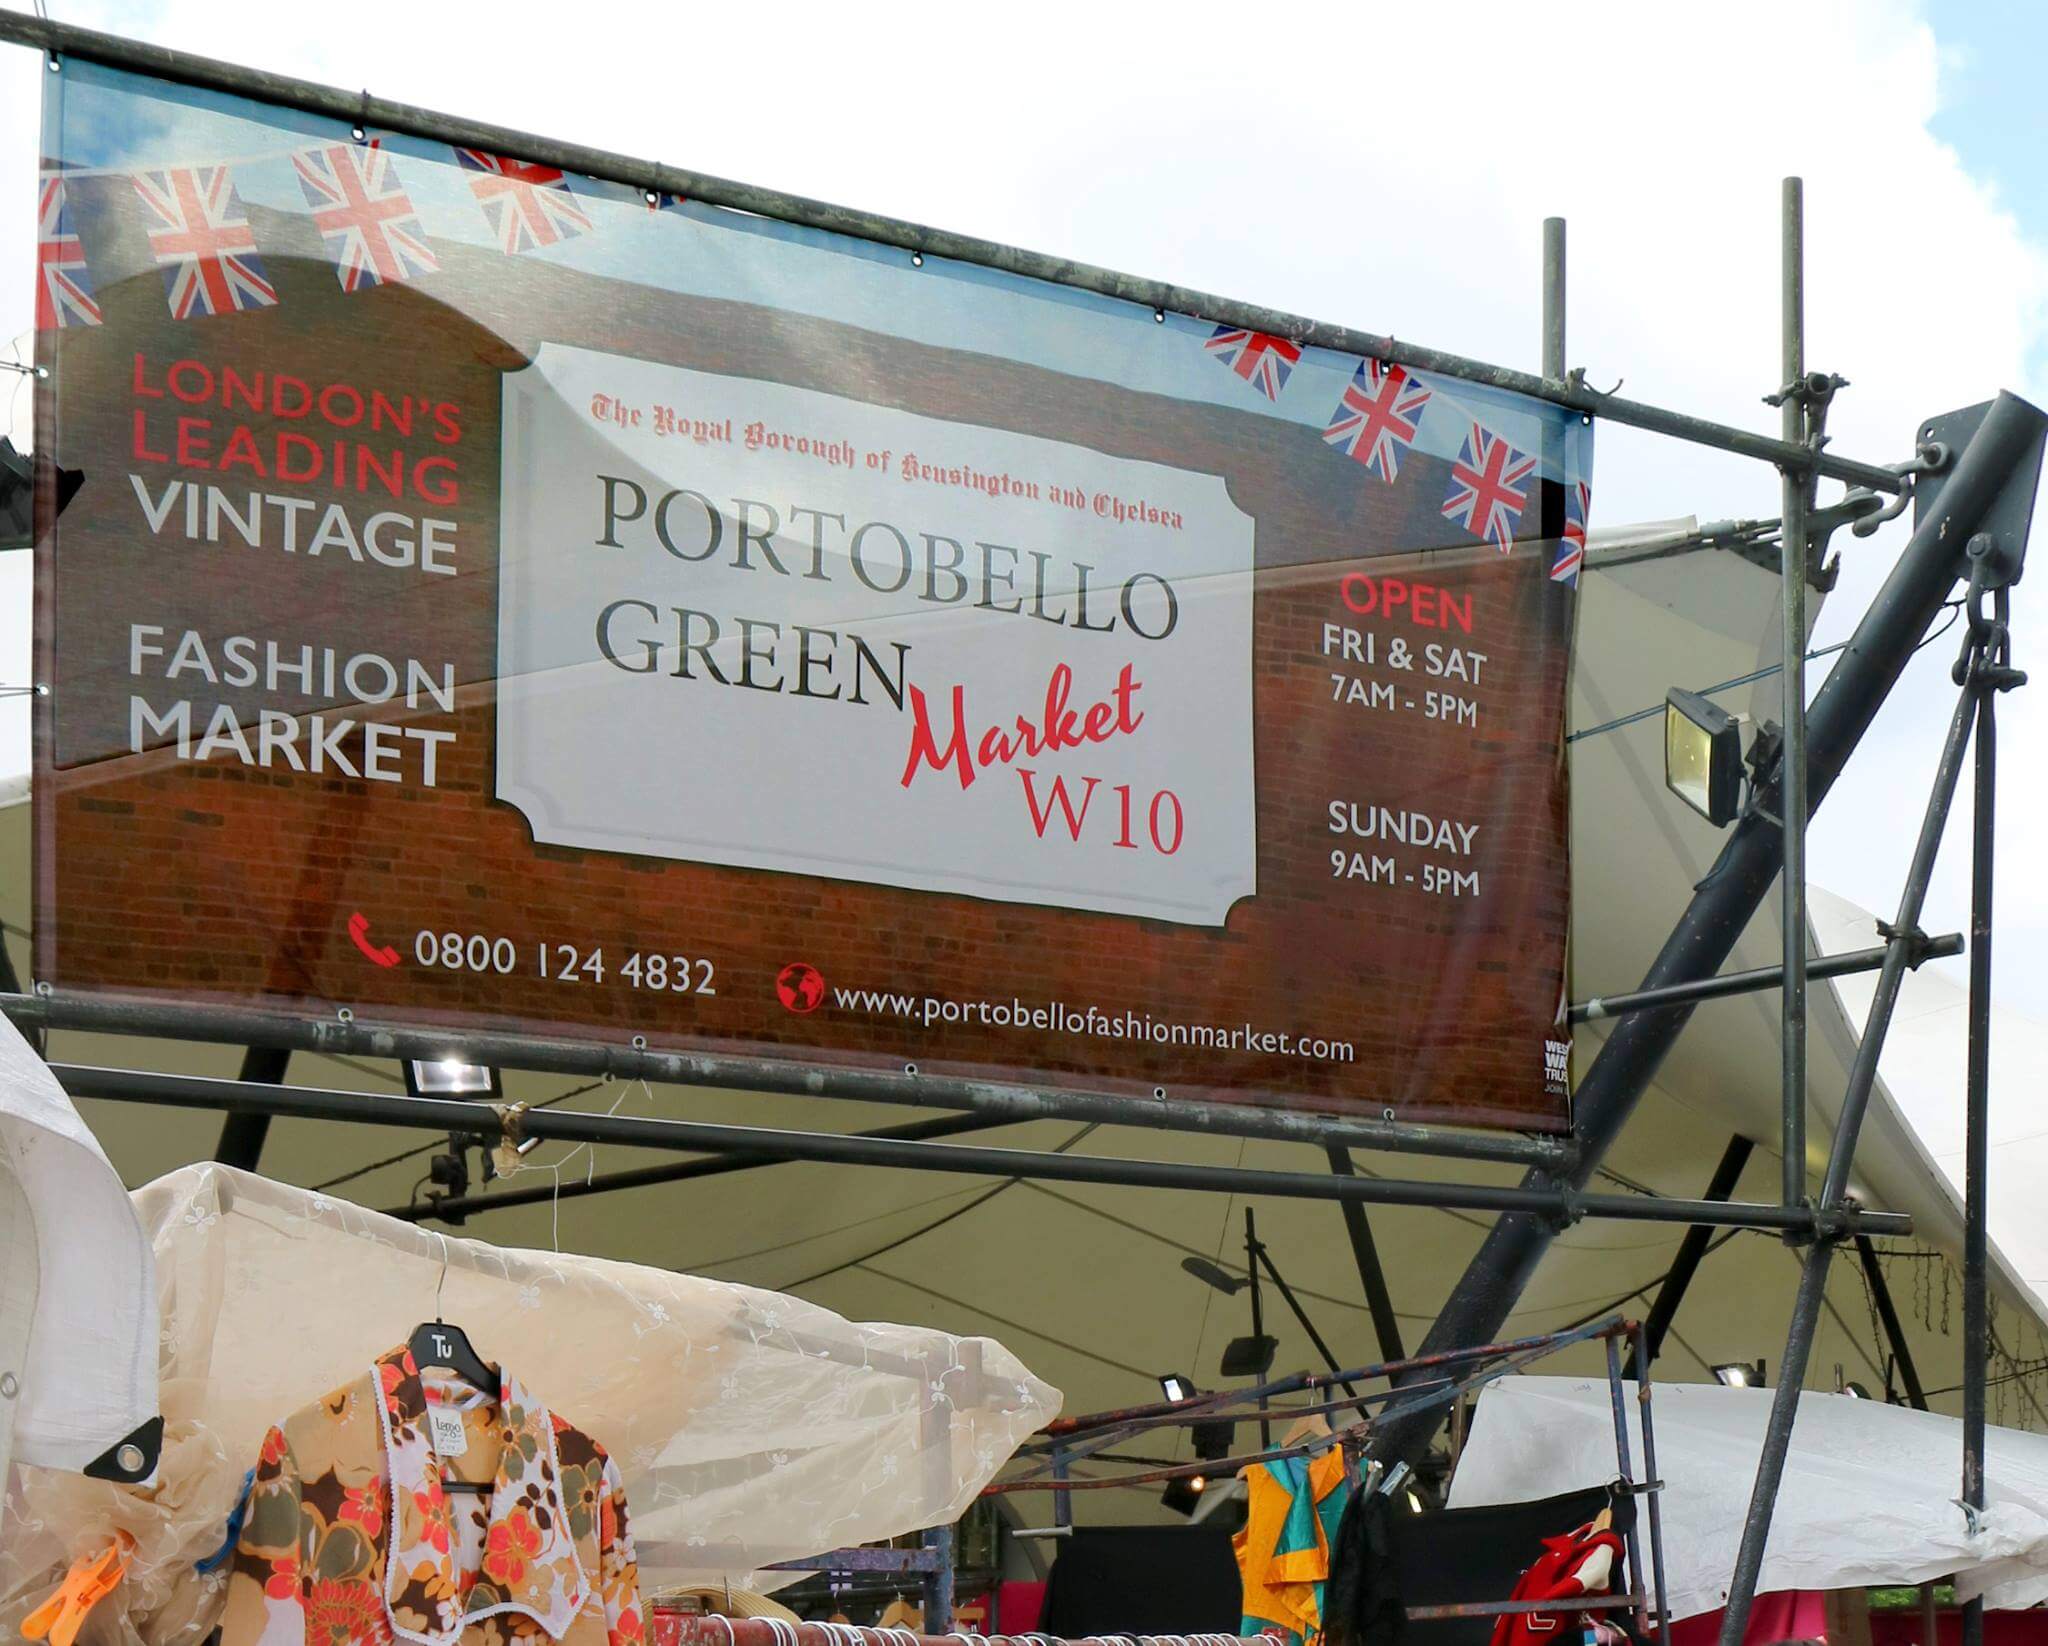
Order Fence Banners
Fence banners are a fantastic way to showcase your brand, advertise your business, or provide important eye-catching promotional ...
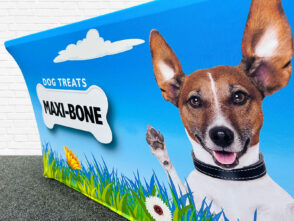
Printed Tablecloths in full vibrant colour look awesome with your brand or logo. We use a high-quality 210gsm knitted polyester which is flame-retarda...
Event branding is crucial in creating a memorable experience for attendees and promoting a company’s identity. By utilising various visual and messa...
Our Projecting Banner solutions allow full-colour banners to be attached to walls, posts, and lamp posts. They come complete with all hardware, fixing...
Printed Banners that are perfect for your Promotional needs. Our banners are made from high-quality materials such as PVC, mesh, and fabric and can be...
This website uses cookies to improve your experience. By clicking accept all, you will allow us to analyse site usage, improve user experience, website performance and assist us in our marketting efforts.
This website uses cookies to improve your experience while you navigate through the website. Out of these cookies, the cookies that are categorized as necessary are stored on your browser as they are essential for the working of basic functionalities of the website. We also use third-party cookies that help us analyze and understand how you use this website. These cookies will be stored in your browser only with your consent. You also have the option to opt-out of these cookies. But opting out of some of these cookies may have an effect on your browsing experience.
Necessary cookies are absolutely essential for the website to function properly. This category only includes cookies that ensures basic functionalities and security features of the website. These cookies do not store any personal information.
Functional cookies help to perform certain functionalities like sharing the content of the website on social media platforms, collect feedbacks, and other third-party features.
Performance cookies are used to understand and analyze the key performance indexes of the website which helps in delivering a better user experience for the visitors.
Cookie
Duration
Description
_gat
1 minute
This cookies is installed by Google Universal Analytics to throttle the request rate to limit the colllection of data on high traffic sites.
Analytical cookies are used to understand how visitors interact with the website. These cookies help provide information on metrics the number of visitors, bounce rate, traffic source, etc.
Cookie
Duration
Description
_ga
2 years
This cookie is installed by Google Analytics. The cookie is used to calculate visitor, session, campaign data and keep track of site usage for the site's analytics report. The cookies store information anonymously and assign a randomly generated number to identify unique visitors.
_ga_TSXH38VMEP
2 years
This cookie is installed by Google Analytics.
_gcl_au
3 months
This cookie is used by Google Analytics to understand user interaction with the website.
_gid
1 day
This cookie is installed by Google Analytics. The cookie is used to store information of how visitors use a website and helps in creating an analytics report of how the website is doing. The data collected including the number visitors, the source where they have come from, and the pages visted in an anonymous form.
_hjAbsoluteSessionInProgress
30 minutes
No description available.
_hjFirstSeen
30 minutes
This is set by Hotjar to identify a new user’s first session. It stores a true/false value, indicating whether this was the first time Hotjar saw this user. It is used by Recording filters to identify new user sessions.
_hjid
1 year
This cookie is set by Hotjar. This cookie is set when the customer first lands on a page with the Hotjar script. It is used to persist the random user ID, unique to that site on the browser. This ensures that behavior in subsequent visits to the same site will be attributed to the same user ID.
_hjIncludedInPageviewSample
2 minutes
No description available.
_hjIncludedInSessionSample
2 minutes
No description available.
_hjTLDTest
session
No description available.
cg_sessionid
never
This cookie is used to identify the frequency of visits and how long the visitor is on the website. The cookie is also used to determine how many and which subpages the visitor visits on a website – this information can be used by the website to optimize the domain and its subpages.
cg_sessiontime
never
This cookie is used to identify the frequency of visits and how long the visitor is on the website. The cookie is also used to determine how many and which subpages the visitor visits on a website – this information can be used by the website to optimize the domain and its subpages.
Advertisement cookies are used to provide visitors with relevant ads and marketing campaigns. These cookies track visitors across websites and collect information to provide customized ads.
Cookie
Duration
Description
_fbp
3 months
This cookie is set by Facebook to deliver advertisement when they are on Facebook or a digital platform powered by Facebook advertising after visiting this website.
fr
3 months
The cookie is set by Facebook to show relevant advertisments to the users and measure and improve the advertisements. The cookie also tracks the behavior of the user across the web on sites that have Facebook pixel or Facebook social plugin.
test_cookie
15 minutes
This cookie is set by doubleclick.net. The purpose of the cookie is to determine if the user's browser supports cookies.


Leave a Reply
You must be logged in to post a comment.