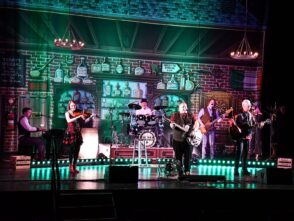
Trade shows and exhibitions are crowded, fast-paced environments where you have just seconds to capture attention. Your roller banner needs to work hard in that moment. It must communicate who you are, what you offer, and why someone should stop at your stand.
The key to an effective roller banner is understanding viewing distance and purpose before you start designing. A banner viewed from across a busy exhibition hall needs bold headlines and strong visuals. A banner positioned near your stand for close reading can include more detailed product information or directions. Some banners guide visitors around a space, whilst others exist purely to build brand awareness from afar.
We’ve worked with countless businesses to create roller banners that deliver results at trade shows. The difference between a banner that gets ignored and one that draws people in comes down to strategic design choices. In this guide, we’ll show you how to design roller banners that stand out, communicate clearly, and support your exhibition goals from the first glance to the final call to action.
Fundamentals of Roller Banners and Their Role at Trade Shows
Roller banners serve as versatile marketing tools that combine portability with visual impact. Understanding the basic types, sizes, and features helps us select the right display for our specific exhibition needs and viewing distances.
What Is a Roller Banner?
A roller banner is a portable display system where a printed graphic panel retracts into a base unit for storage and transport. We also know these displays as pull-up banners or pop-up banners.
The banner itself typically uses durable vinyl or polyester material. This construction withstands repeated use across multiple events. The base unit contains a spring-loaded mechanism that allows the graphic to roll up and down smoothly.
Most banner stands require no tools for assembly. We simply pull the graphic panel upwards and secure it with a support pole. This quick setup saves valuable time during event preparation.
The compact design makes transport straightforward. When retracted, the entire unit fits into a carry bag that we can easily carry or wheel between venues.
Types and Sizes: Choosing the Right Banner for Your Event
Standard roller banners measure 800mm wide and 2000mm tall. These dimensions work well for most trade shows and exhibitions where viewing distances vary.
Common roller banner types include:
- Standard roller banners – cost-effective solution for general exhibition use.
- Premium roller banners – feature higher quality materials and more stable bases.
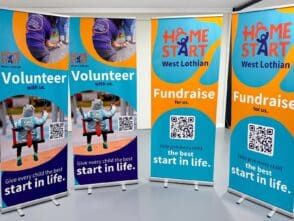
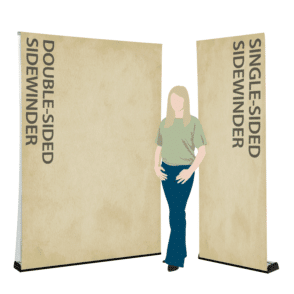
- Double-sided roller banners – display graphics on both sides for maximum visibility.
- Wide roller banners – exceed 1000mm width for greater impact in larger spaces.
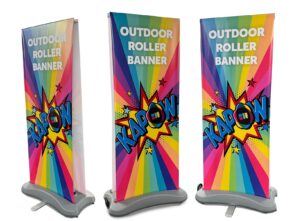
- Outdoor roller banners – Double sided for outdoor applications.
We should consider viewing distance when selecting banner size. Large exhibition halls benefit from wide roller banners or taller displays. Smaller corporate events or retail spaces work well with standard sizes. Desktop roller banners suit close-proximity information sharing at registration desks or reception areas.
The purpose of our banner also influences size choice. Wayfinding banners need clear, readable text from a distance. Product information banners used in close proximity can include more detailed content.
Key Features and Benefits for Exhibitors
Portability ranks among the most valuable features for exhibitors and marketers. We can transport multiple banner stands without requiring large vehicles or extensive staff assistance.
Display stands set up in under a minute. This speed allows us to focus on other booth preparations at trade fairs and conferences. The lightweight design means one person can handle setup and breakdown easily.
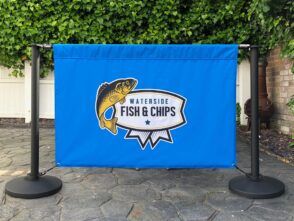
Durability ensures our roller banners last across numerous events. Quality portable displays withstand frequent packing, transport, and assembly without deteriorating. Many roller banners feature interchangeable graphics, allowing us to update messaging for different exhibitions whilst keeping the same base unit.
These portable displays offer excellent value compared to larger exhibition systems. We achieve professional visual presence without substantial financial outlay. The compact storage footprint benefits organisations with limited storage space between events.
Roller banners can be used in a variety of environments beyond trade shows. We use them effectively at retail spaces, corporate events, and outdoor promotions with appropriate weather-resistant options.
Design Strategies to Maximise Attention and Impact
A strong roller banner design relies on a clear visual hierarchy, strategic colour choices, readable typography, and high-quality images. We need to balance bold, attention-grabbing elements with organised information that works at both close and far viewing distances.
Establishing a Visual Hierarchy and Reading Flow
Visual hierarchy guides viewers through our banner design in order of importance. We should place our logo and main message at eye level or slightly above, where it naturally draws attention first.
The top third of our roller banner should feature the most critical information. This is what people see from a distance. Supporting details and calls to action work best in the middle section. Contact information belongs at the bottom.
We create hierarchy through size, colour, and positioning. The headline should be the largest element, followed by supporting text and images. Each element needs a clear purpose and position in the reading flow.
Viewers scan banners in seconds. We must eliminate clutter and focus on one primary message. If our banner tries to communicate too much, it communicates nothing effectively.
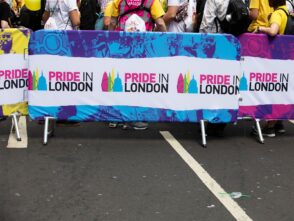
Selecting Brand Colours and High-Contrast Elements
Brand colours strengthen brand recognition and make our roller banner instantly identifiable. Consistent branding across all exhibition materials builds brand awareness and professional credibility.
High-contrast combinations ensure text stands out against backgrounds. Dark text on light backgrounds or light text on dark backgrounds provides maximum readability. We should avoid low-contrast pairings like yellow on white or dark blue on black.
Using two to three colours keeps our banner design clean and focused. Too many colours create visual confusion and weaken our message. Our brand identity should dictate the colour palette, but we might need to adjust shades for better contrast on the printed graphic.
Colour psychology matters at exhibitions. Bold colours like red and orange grab attention from across busy trade show floors. Blue and green convey trust and calm, suitable for corporate messaging.
Typography and Readability from a Distance
Sans-serif fonts deliver the best readability at exhibition viewing distances. Fonts like Arial, Helvetica, and Calibri remain clear and legible from several metres away. Decorative fonts might look attractive up close, but fail at a distance.
Our headline text should be at least 80-100mm tall for viewing from 3-5 metres. Body text needs to be a minimum of 25-30mm for comfortable reading at 1-2 metres. If viewers can’t read our message from their typical viewing distance, we’ve failed.
We should limit our roller banner design to a maximum of 2 fonts. One for headings and one for body text creates visual consistency without confusion. Mixing too many typefaces can look unprofessional and disrupt the reading flow.
Font weight and spacing affect readability. Bold text works well for headlines, but we must ensure adequate letter spacing. Compressed or condensed fonts save space but sacrifice clarity.
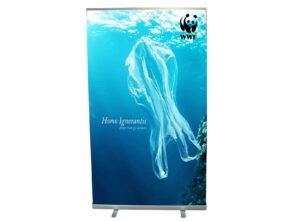
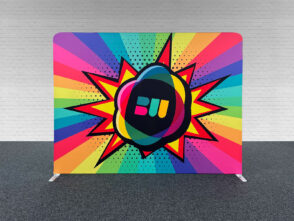
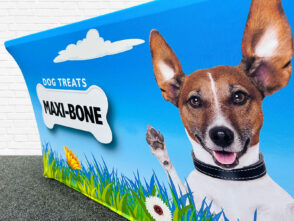
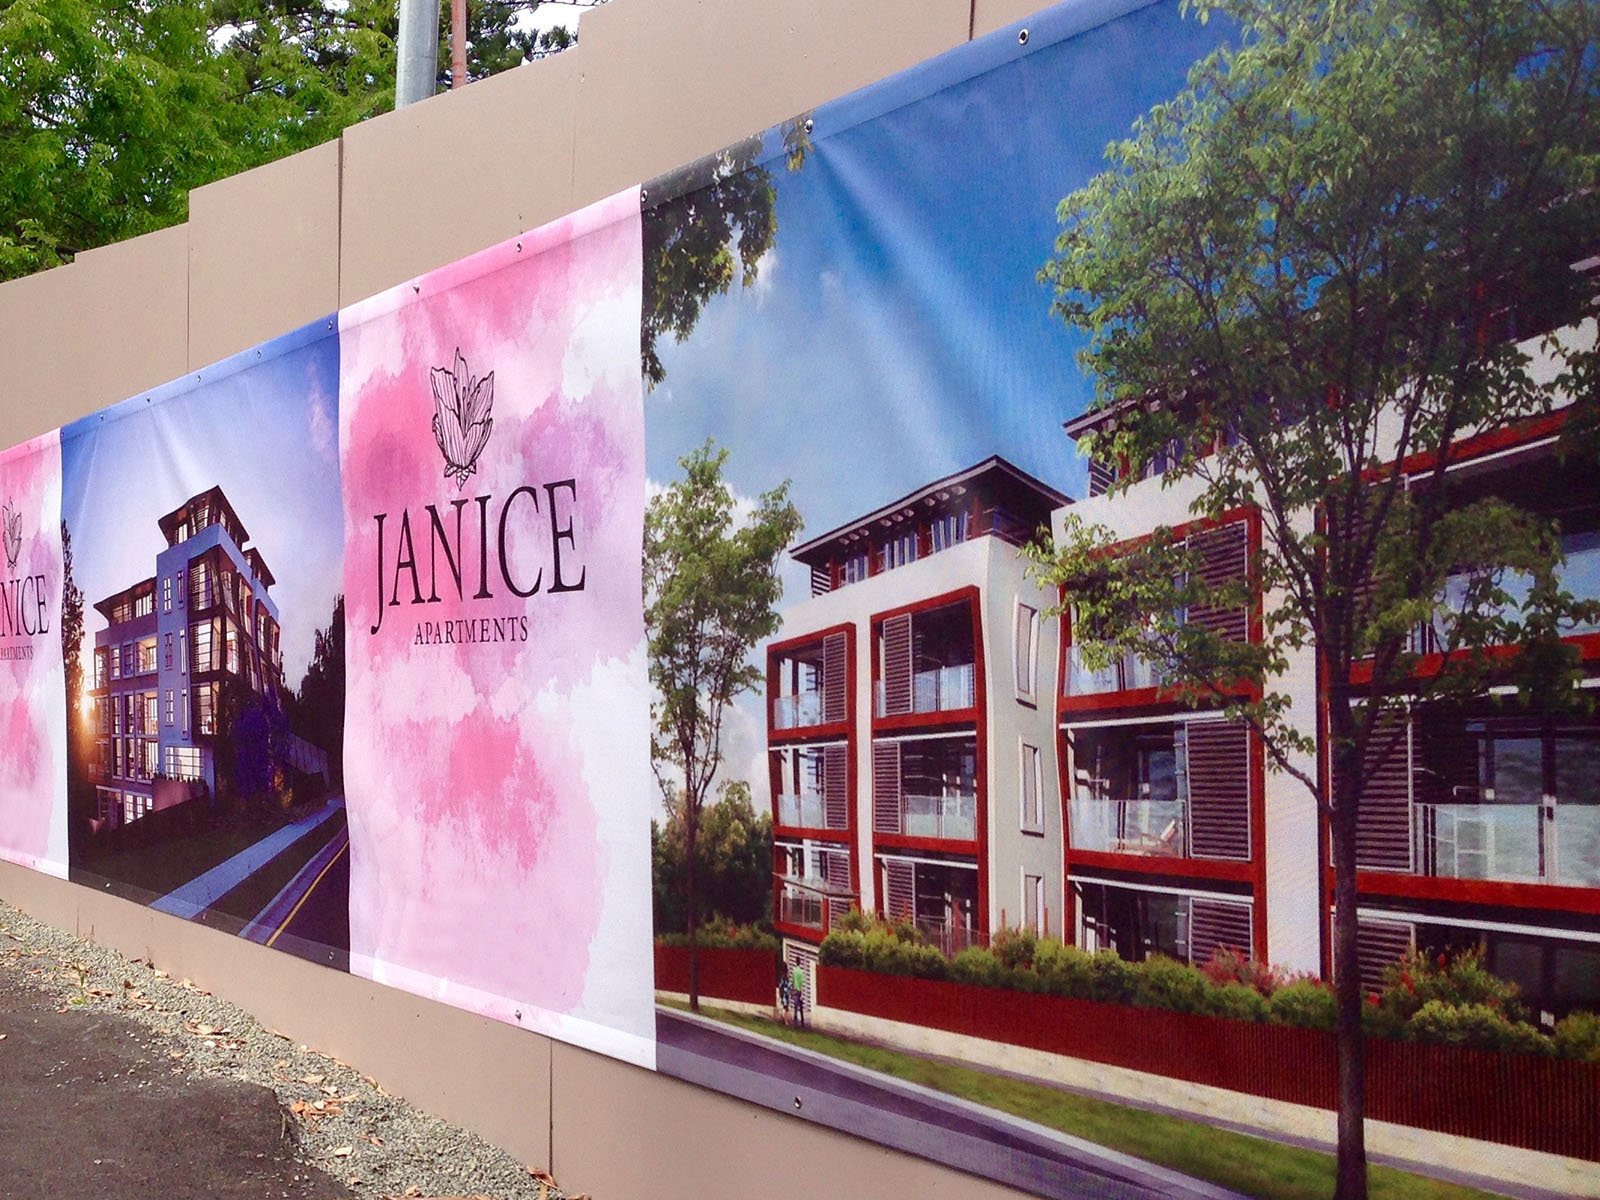
Using High-Quality Images and Negative Space
High-quality images immediately establish credibility and visual impact. Blurry or pixelated photos undermine our message and brand identity, no matter how good the rest of our banner design is.
We need images with a minimum resolution of 120 DPI at the final banner size. Smaller images stretched to fill space will appear pixelated on the printed graphic. Professional photography or high-resolution stock images are worth the investment.
Negative space (also called white space) gives our design room to breathe. Empty areas aren’t wasted space. They direct focus to our key messages and prevent visual overwhelm. White space improves comprehension and makes banners appear more professional.
Images should support our message, not compete with it. We must avoid busy backgrounds that make text hard to read. Simple, relevant images work better than complex scenes with multiple focal points.
Quality materials matter for the final product. Sharp printing on durable banner material ensures our carefully designed roller banner looks professional throughout the entire exhibition.
Purpose-Led Content and Calls to Action
Your roller banner needs a clear job to do at your trade show or exhibition. Whether you’re directing foot traffic, sharing product details, or capturing leads, every design choice should support that specific goal and guide viewers towards a single action.
Crafting Clear, Compelling Messaging
We recommend keeping your message focused on one core idea. A roller banner isn’t a brochure; it’s a visual headline.
Start with what matters most to your audience. If you’re promoting a service, state the benefit in 5-7 words maximum. “Expert Web Design. Free Consultation” works better than a paragraph about your company history. Place your most important message at eye level, roughly 1.2-1.5 metres from the base.
Use active language that speaks directly to attendees. “Get Your Free Sample” beats “Samples Available” every time. Support your headline with 2-3 bullet points at most. Each point should take under two seconds to read.
Remember that viewing distance changes everything. For banners viewed from 3+ metres away, use headline text at least 80-100mm tall. For close-up reading (1 metre or less), you can include more detail but keep body text above 20mm for easy scanning.
Adding Interactive Elements: QR Codes and Beyond
QR codes turn your roller banner into an active lead generation tool. We’ve seen them boost engagement by giving attendees a quick way to access information without stopping for a lengthy chat.
Position your QR code in the bottom third of your banner, roughly 30-40cm from the floor. This height works best for scanning with mobile phones held naturally. Make the code at least 8cm x 8cm, so it scans reliably.
Include a brief instruction, such as “Scan for Pricing” or “Download Our Guide,” directly next to the code. Never assume people know what they’ll get. Add a short URL below the QR code as a backup option for those who prefer typing.
Test your QR code before printing. Check that it links to a mobile-optimised landing page, not your general website. Track these scans to measure your banner’s performance at different events.
Information Placement for Different Viewing Distances
Your content hierarchy must match how people approach your stand. We divide banner space into three zones based on typical viewing patterns.
The top third (above 1.5 metres) should feature your logo and, perhaps, a tagline. This area gets seen first from across the exhibition floor. Use high-contrast colours and bold typography.
The middle zone (0.8-1.5 metres) holds your main message and key visuals. This is where attendees focus when they’re 2-4 metres away, deciding whether to approach. Keep text large and benefits clear.
The bottom third works for supporting details, contact information, and interactive elements. People read this section when they’re already at your stand, within arm’s reach. You can use smaller text here, but nothing below 15mm height.
For wayfinding banners, place directional information and arrows only in the middle zone. Don’t clutter them with marketing messages that slow down navigation.
Integrating Effective Calls to Action
Every roller banner needs a clear call-to-action that tells viewers exactly what to do next. Your CTA should appear in the bottom third of your banner, where engaged attendees naturally look after reading your main message.
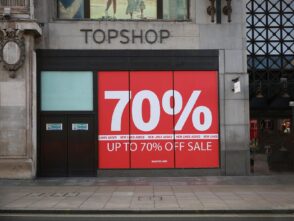
Make your call to action specific and time-bound when possible. “Visit Stand 47” or “Register Today for 20% Off” creates urgency. Generic CTAs like “Learn More” miss the opportunity to drive immediate action.
Use contrasting colours to make your CTA stand out from surrounding elements. A button-style treatment with bold text makes it a visual anchor. Size your CTA text at least 40-50mm tall so it remains readable from 2-3 metres away.
Consider multiple CTAs only if your banner serves different purposes. A banner near your stand entrance might say “Free Demos Inside”, whilst one at your counter could say “Scan for Product Specs”. Never include more than two calls to action on a single banner—this splits attention and reduces response rates.
Test different CTAs across events to see what resonates with your specific audience. Track which phrases generate the most foot traffic or scan engagement through your marketing materials.
Optimal Placement and Practical Considerations
Placement determines whether your roller banner actually gets seen or fades into the background noise of a busy exhibition hall. We need to think about foot traffic patterns, viewing distances, and how our banners work with our overall exhibition stand before we even unpack them.
Assessing Venue Layout and Traffic Flow
Walk the venue before setup if possible. Main aisles carry the most traffic, but they also have the most competition for attention. Side aisles often give us longer viewing times as people move more slowly.
We should identify natural stopping points where attendees pause or queue. These spots give people time to read more detailed information on our banners. Corner locations need banners visible from multiple approaches.
Check ceiling heights and lighting. A standard 2000mm banner might get lost in a venue with 6-metre ceilings. Overhead lighting can create glare on glossy banner materials or cast shadows that obscure key information.
Key traffic considerations:
- Main entrances: High volume but fast-moving crowds.
- Seminar room exits: Engaged audiences with specific interests.
- Catering areas: Stationary viewers with time to read.
- Registration desks: Captive audiences in queues.
Strategic Positioning: Wayfinding and Grand Integration
Roller banners excel at wayfinding when placed at decision points. Position directional banners where attendees need to choose which way to go, not after they’ve already committed to a path.
For stand integration, we should place our primary message banner at the back of our exhibition stand, visible from the aisle. This creates a backdrop that draws people in from a distance. Flanking banners at the front corners of our space define our boundaries without blocking sightlines.
Consider viewing angles carefully. A banner placed perpendicular to the aisle only shows its edge to most passersby. Angle it slightly towards approaching traffic instead.
Don’t block your team’s ability to engage with visitors. Banners should frame conversations, not create barriers between potential clients.
Blending Banners with Overall Exhibition Stand Design
Our roller banners should complement our display stands, not compete with them. If we have a product demonstration area, position informational banners beside it rather than behind it, where they’ll be obscured.
Colour coordination matters more than matching exactly. Our banner colours should work within the same family as our stand graphics without creating visual chaos. Three coordinated banners create more impact than five mismatched ones.


Leave a Reply
You must be logged in to post a comment.